
Getting started with Arboair Portal
Great you are here and we are here to help you get started!
First of a few criteria to get started:
1. You need a subscription for Arboair Portal
2. You need an account for Arboair Portal
If you do not have it, head over to our website and register! Once you have received your account and your subscription is live head over to the portal to login!
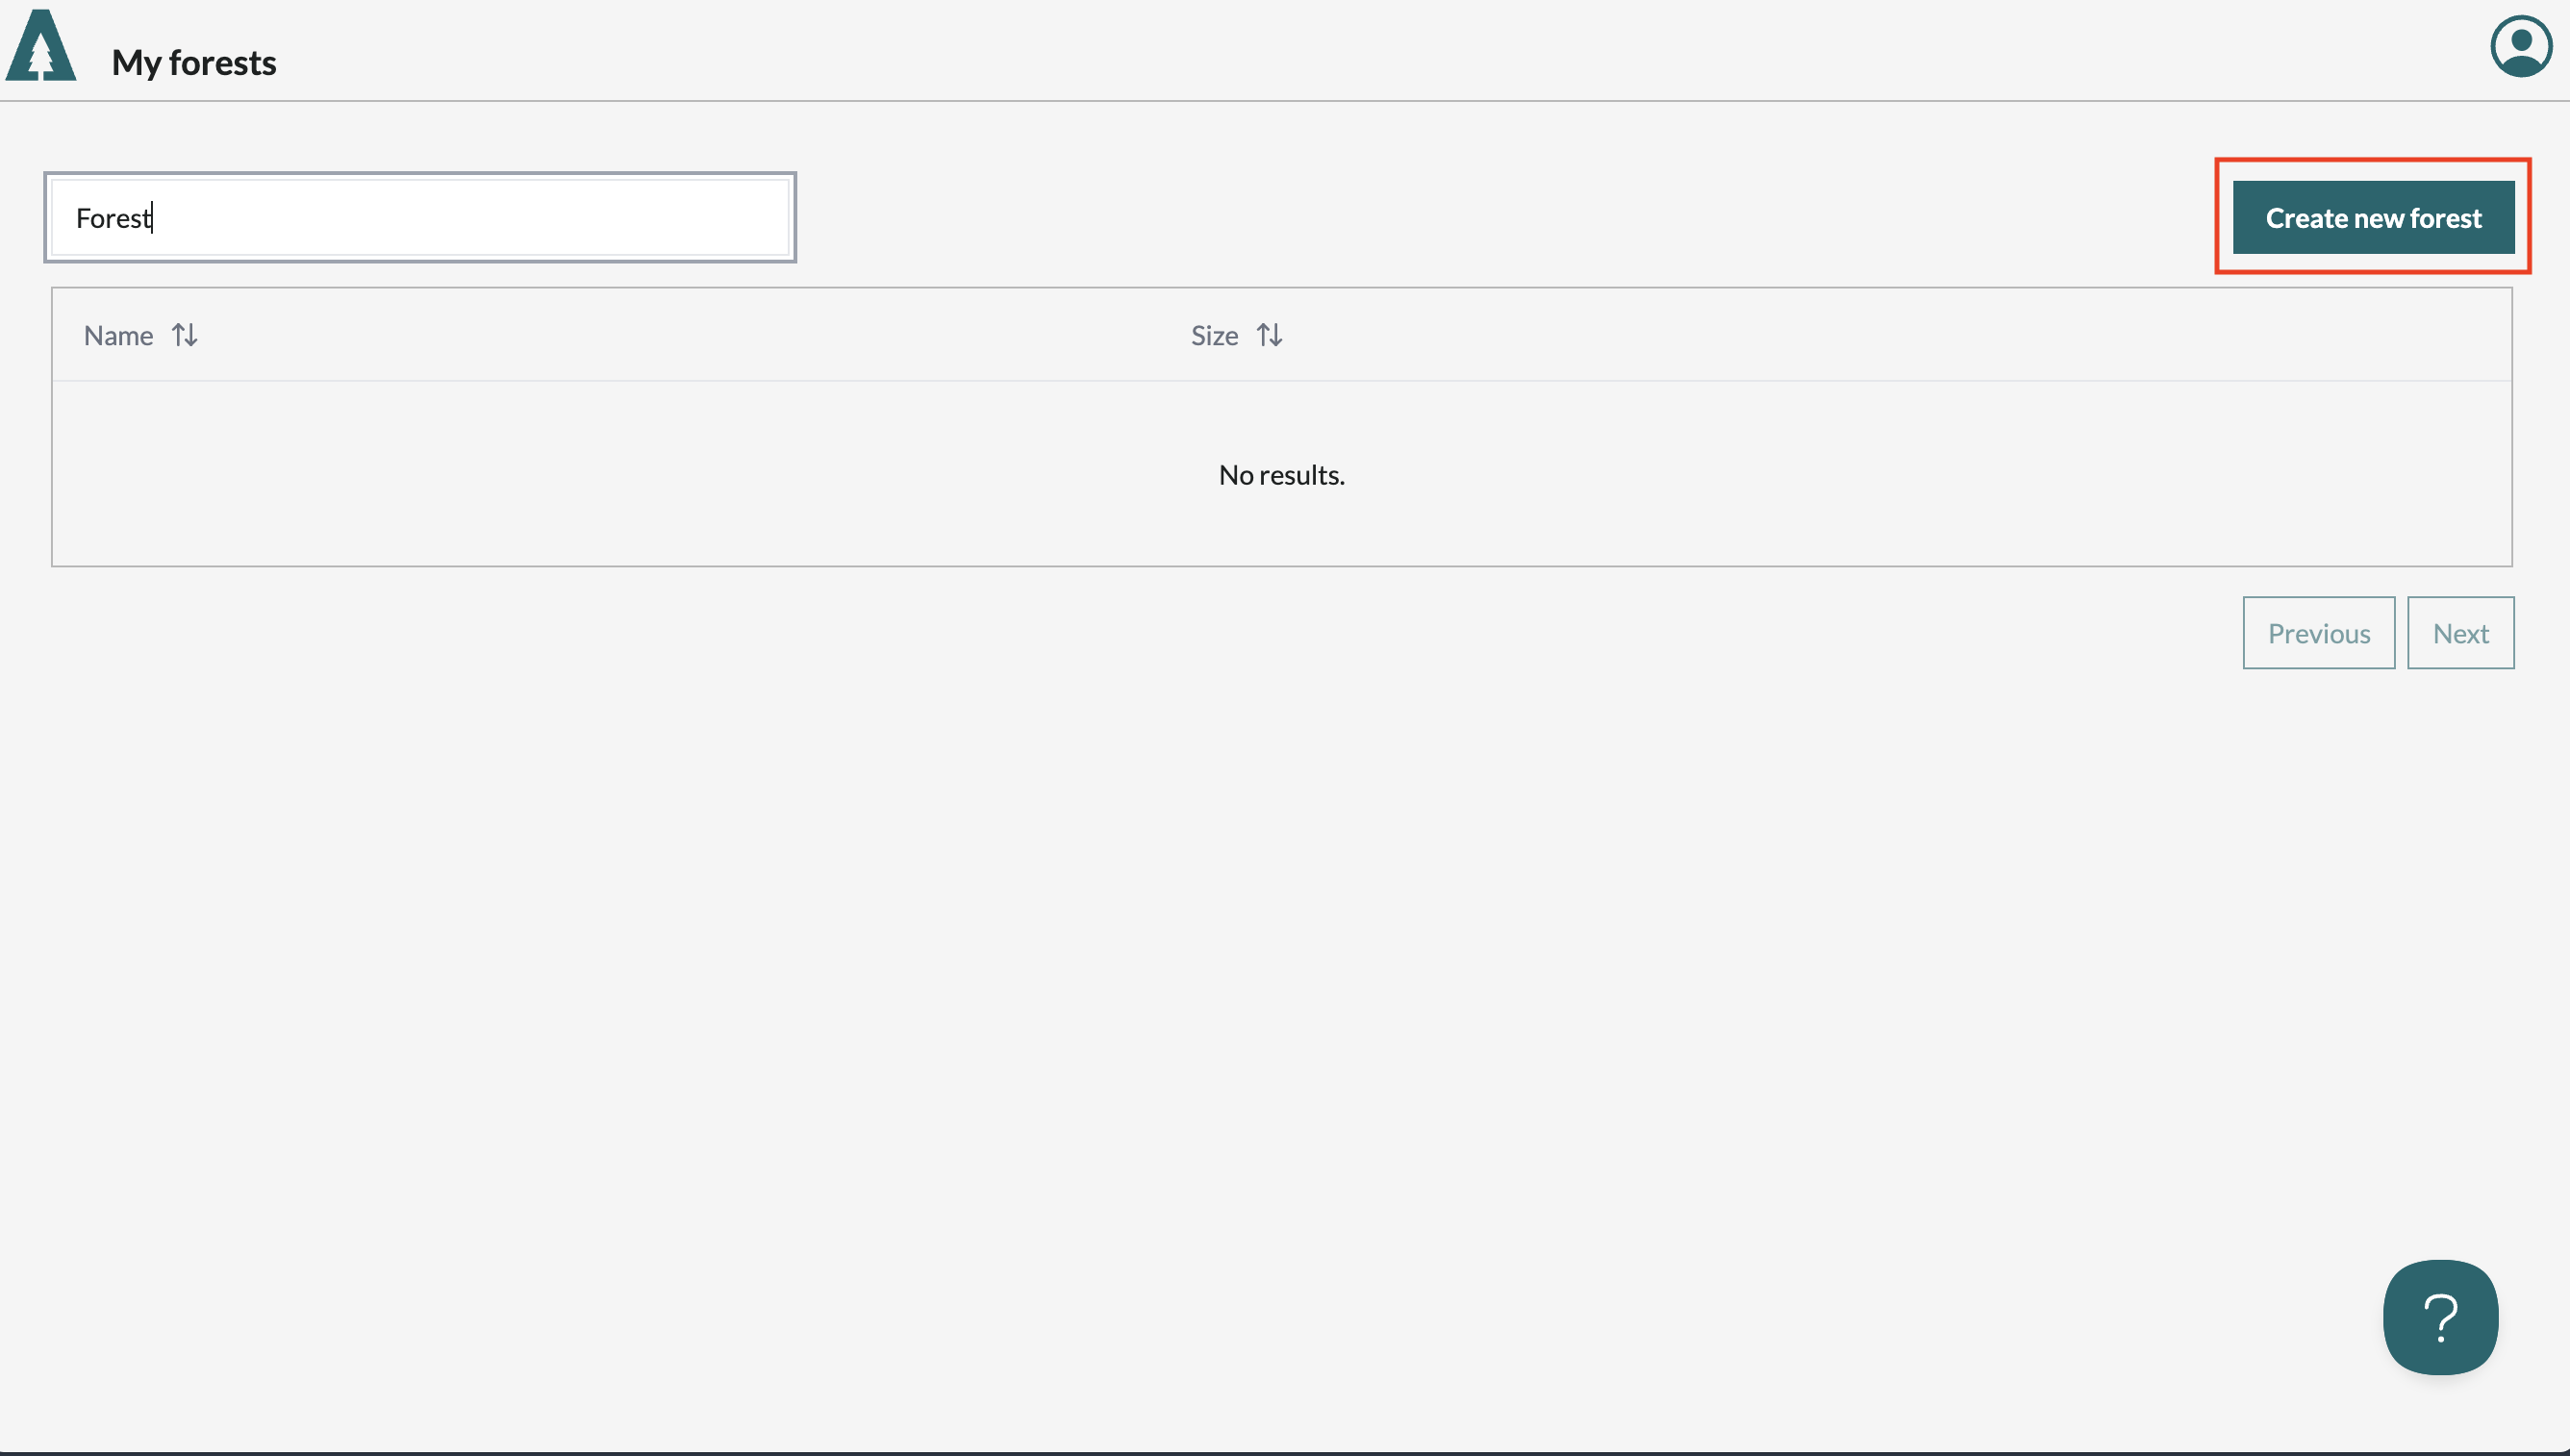
Step 1. Add a forest
Once logged in you need to start with creating a forest. Do that by pressing Create new forest.
Step 2. Create a forest
The first thing to do is to add a border for the forest. You can do this by either
- Property border search (Only in Sweden)
- Upload a shapefile (in .zip format)
- Draw borders on a map
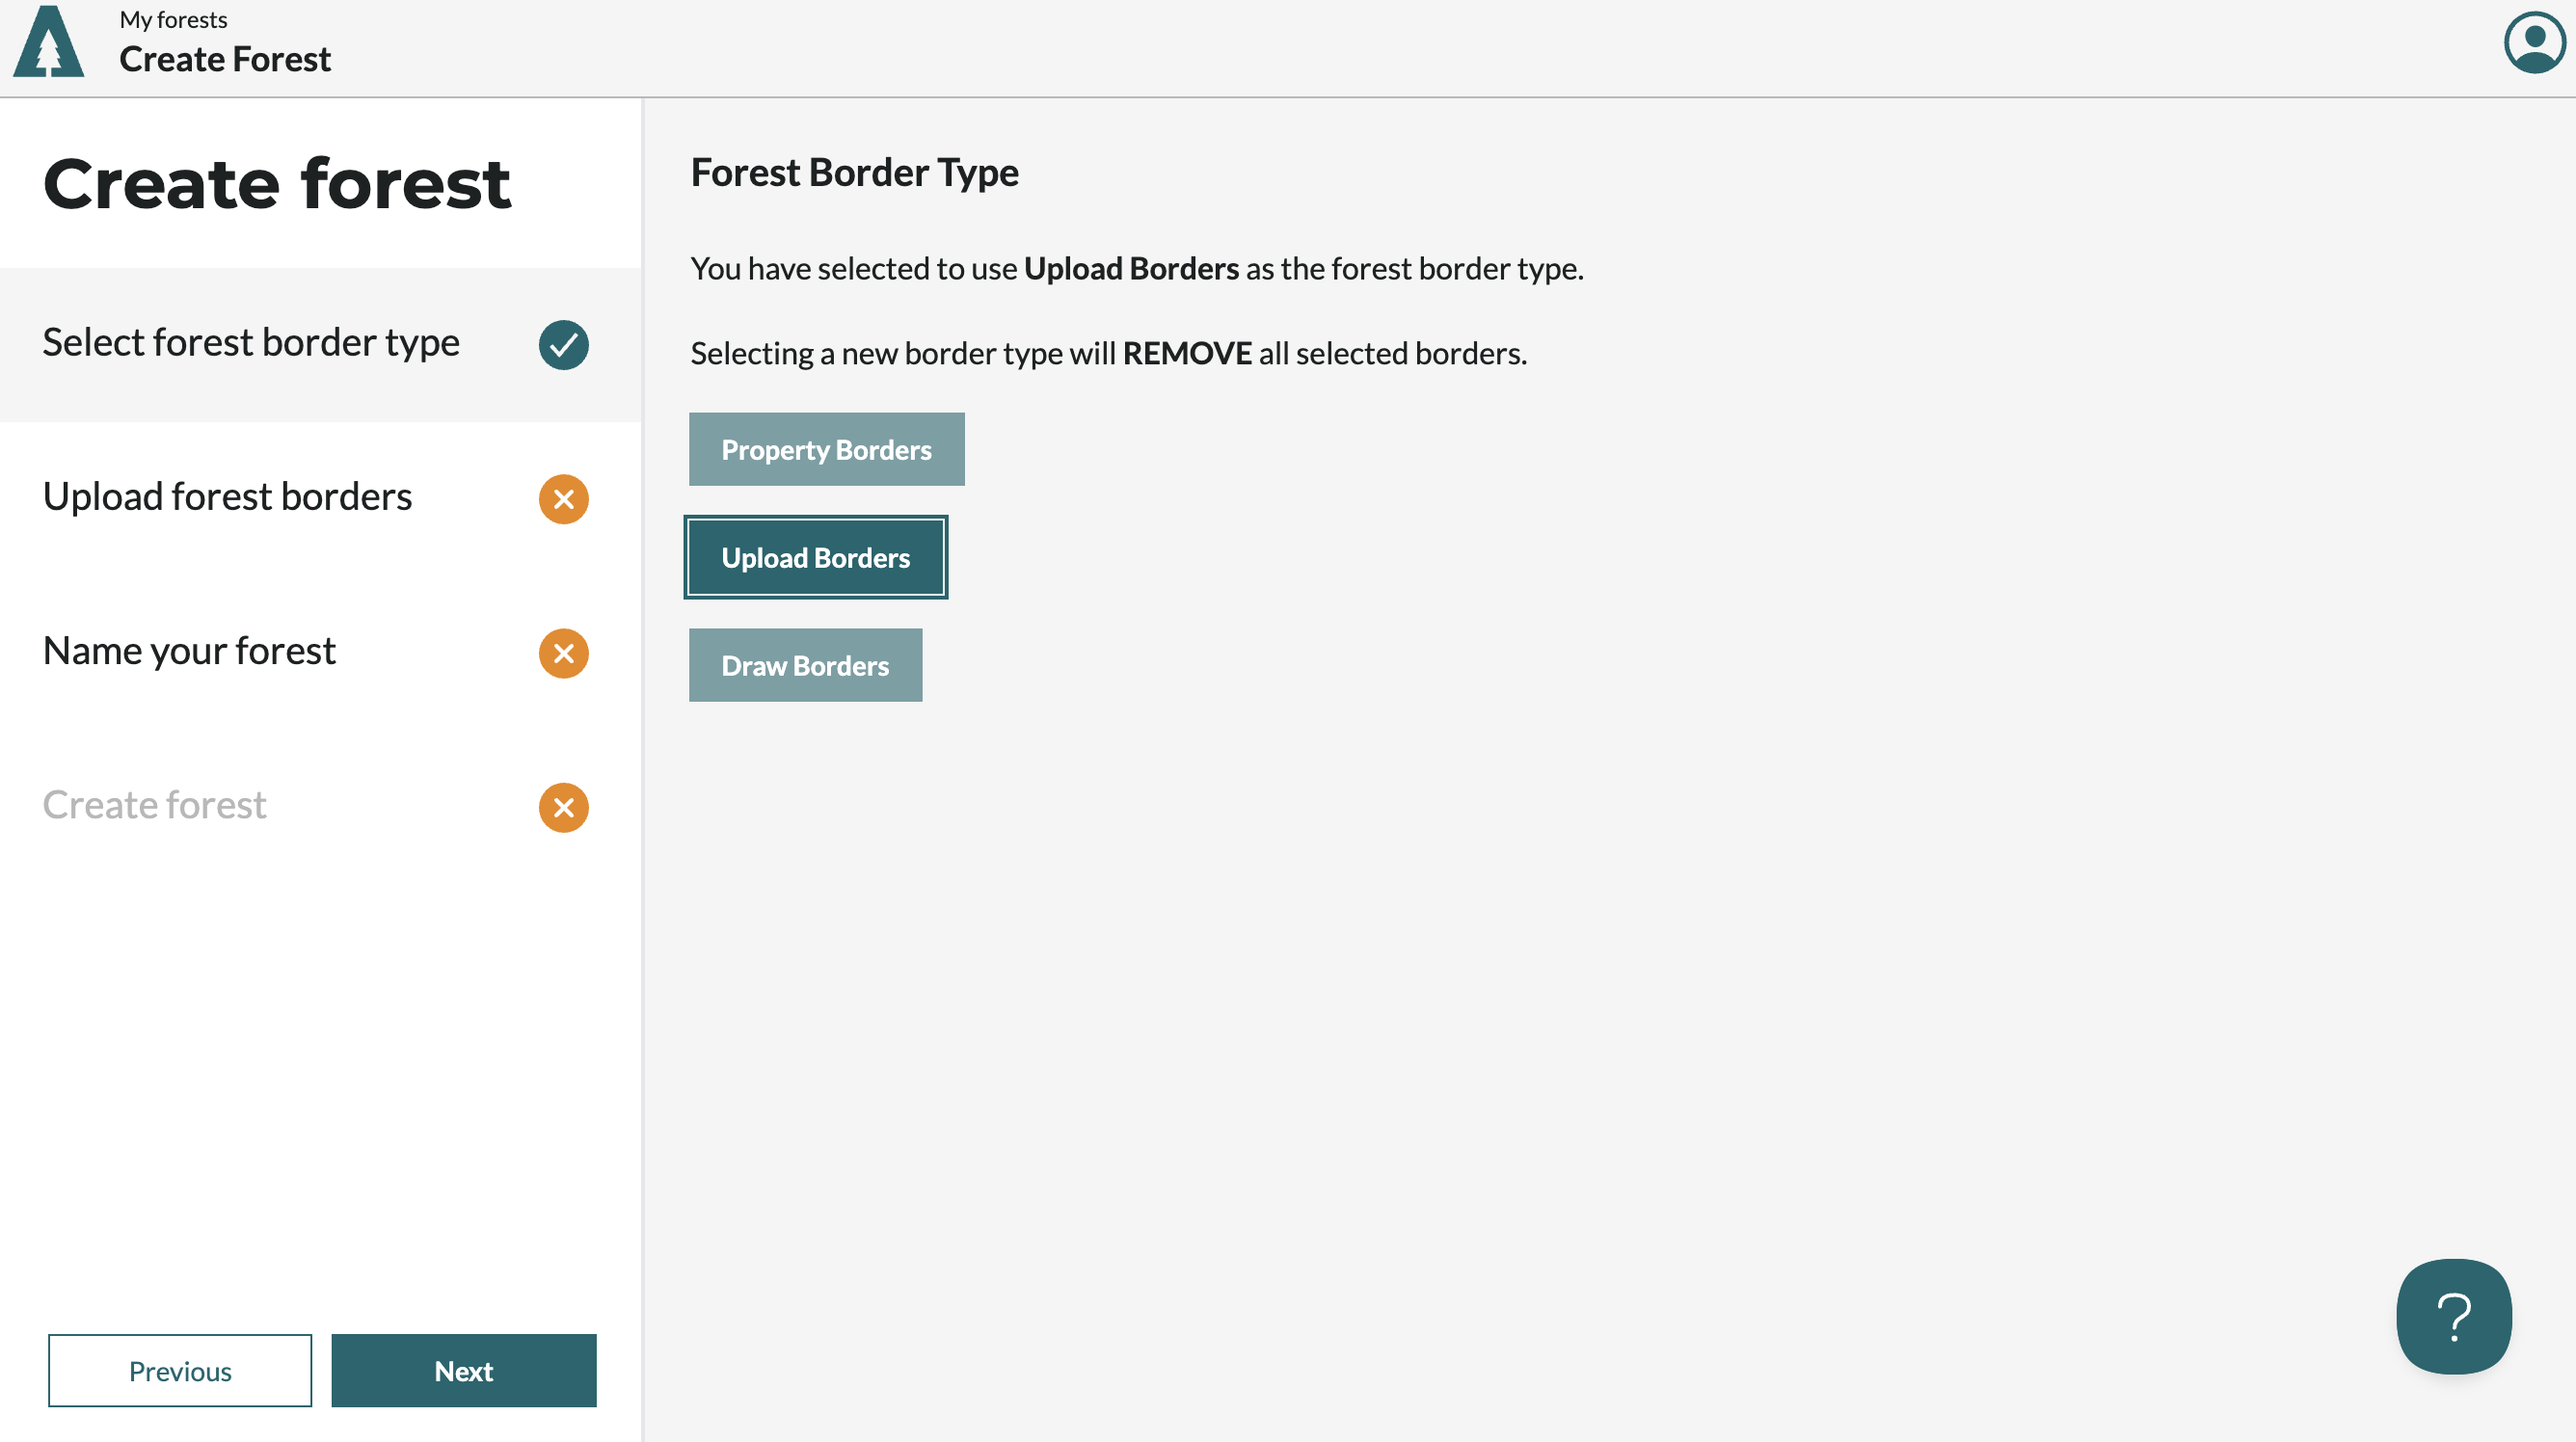
When your boundaries are set on the map just name the forest and save and you are ready to start analyzing your forest.
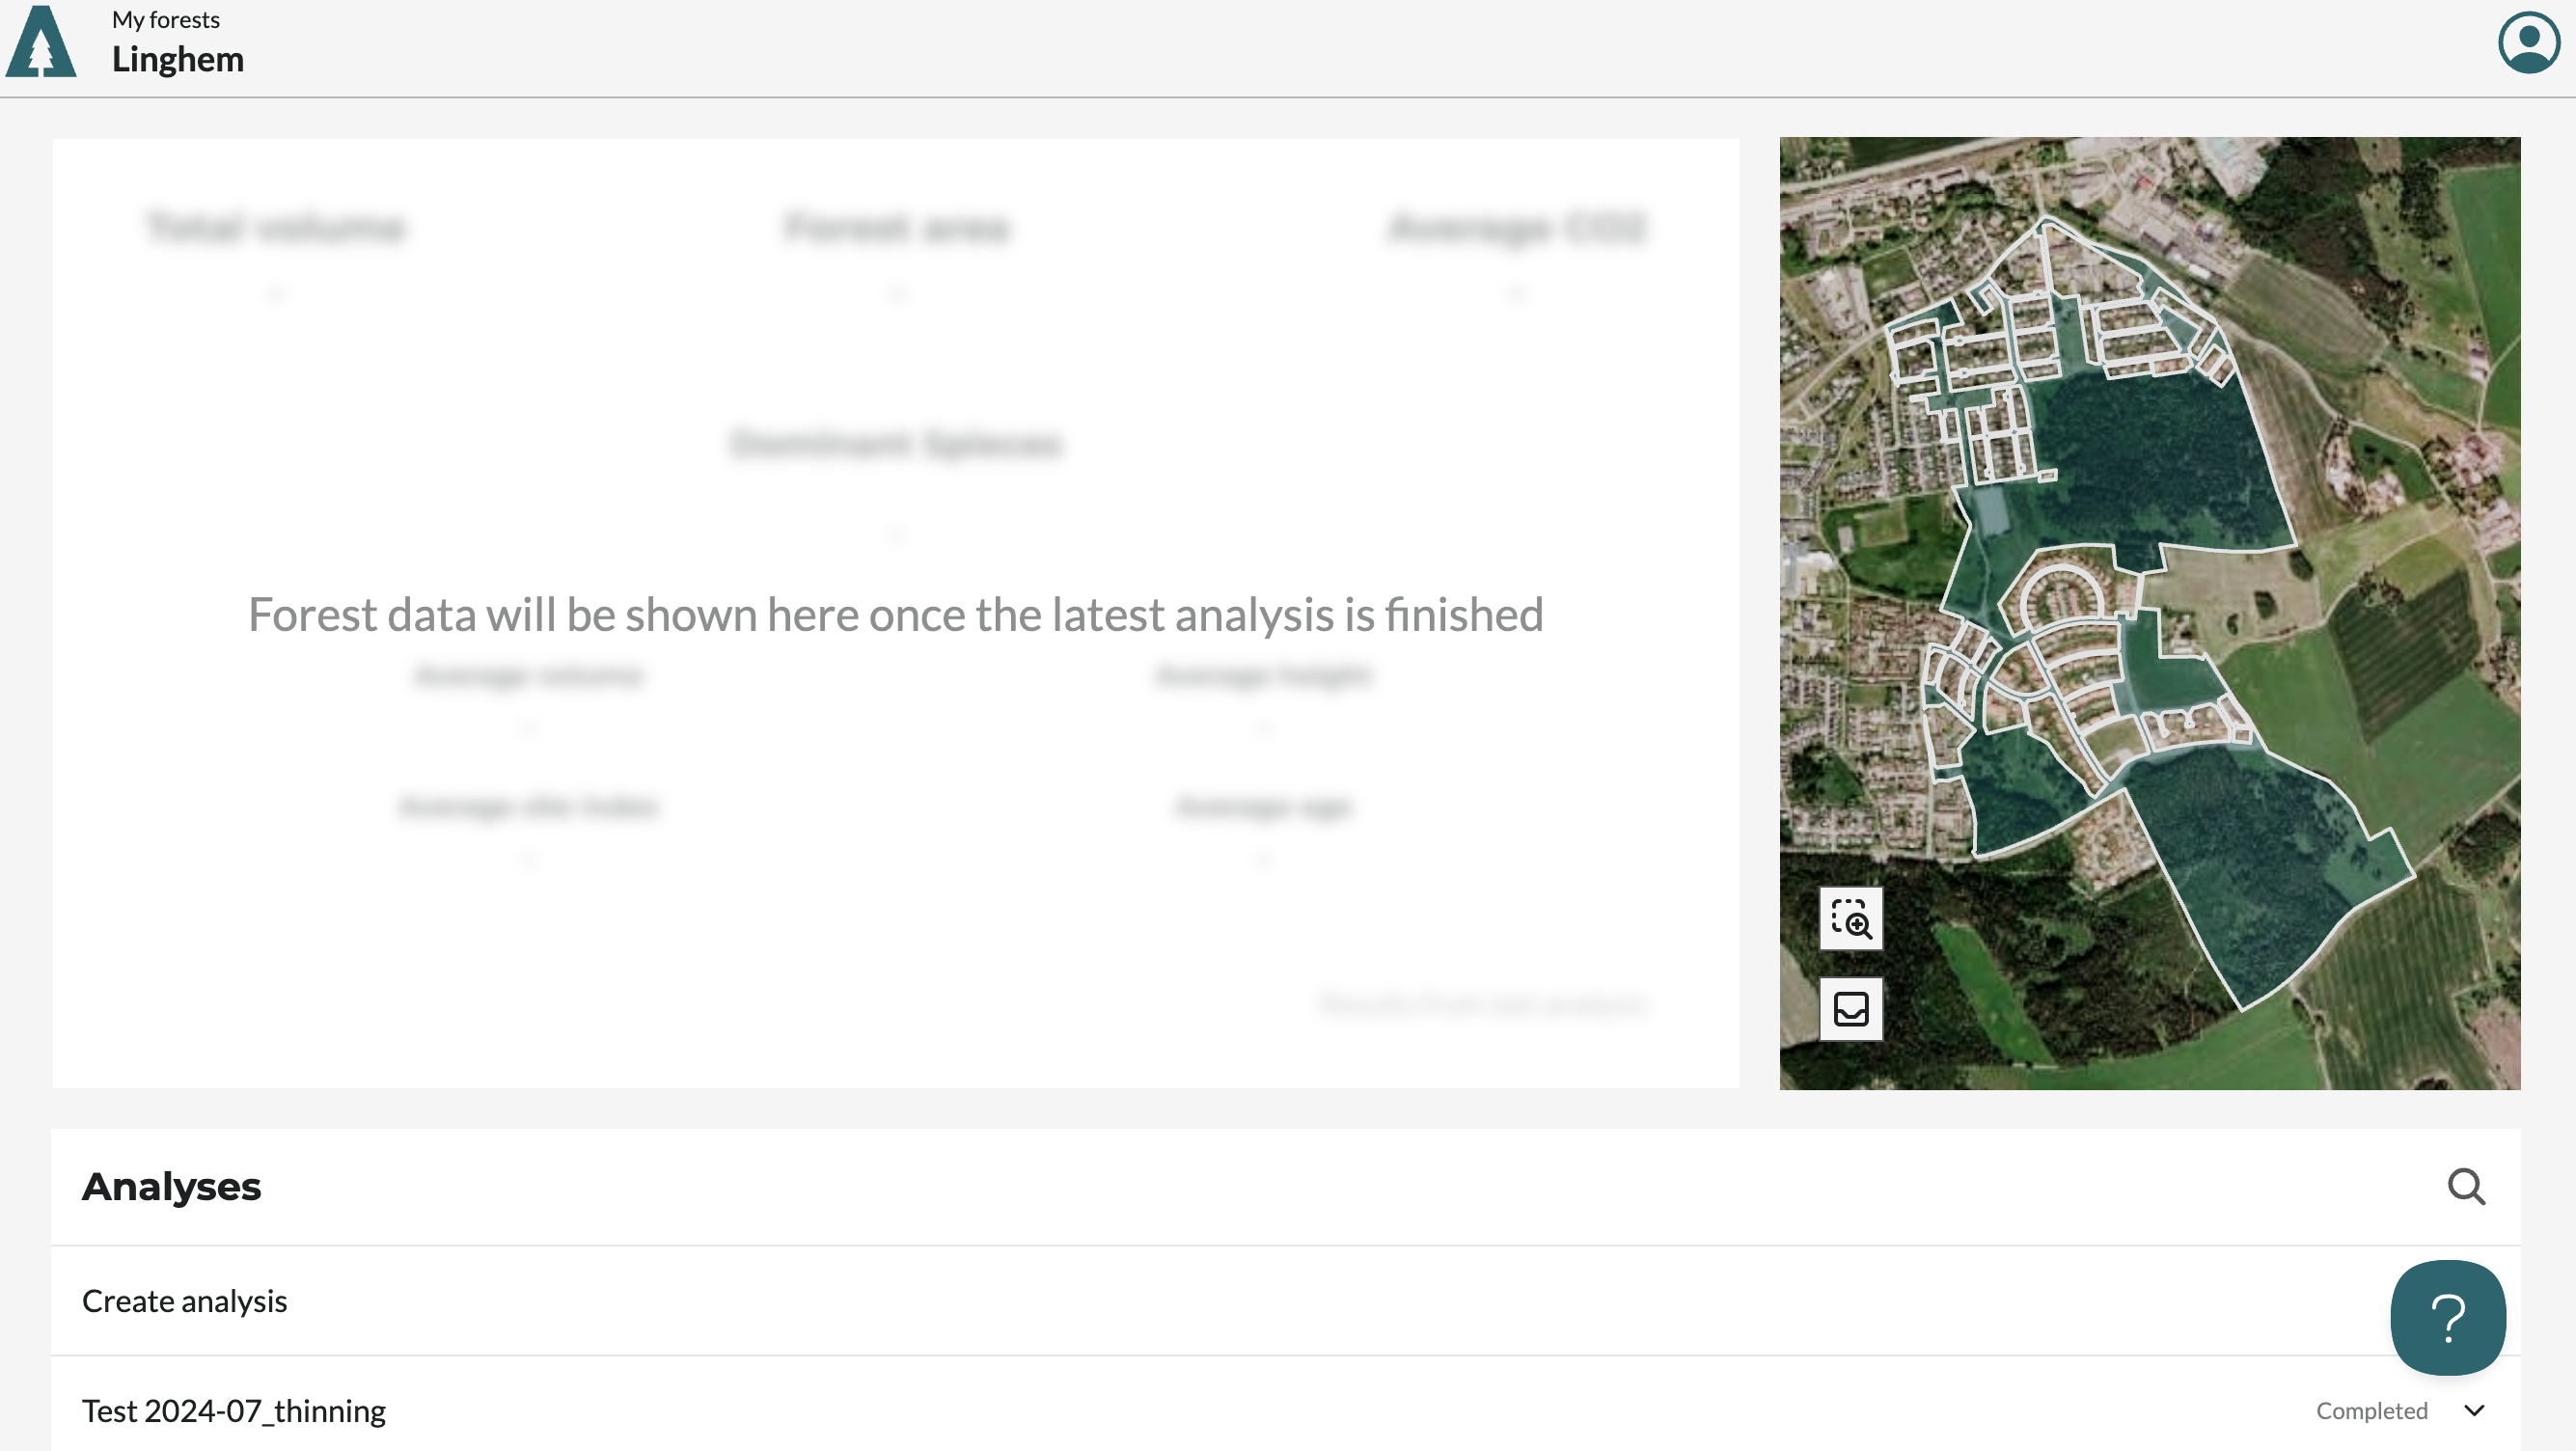
Step 3. Create an analysis
When uploading your own images make sure you have followed our Drone Guide!
Press Create analysis to get started
1. Choose analysis type
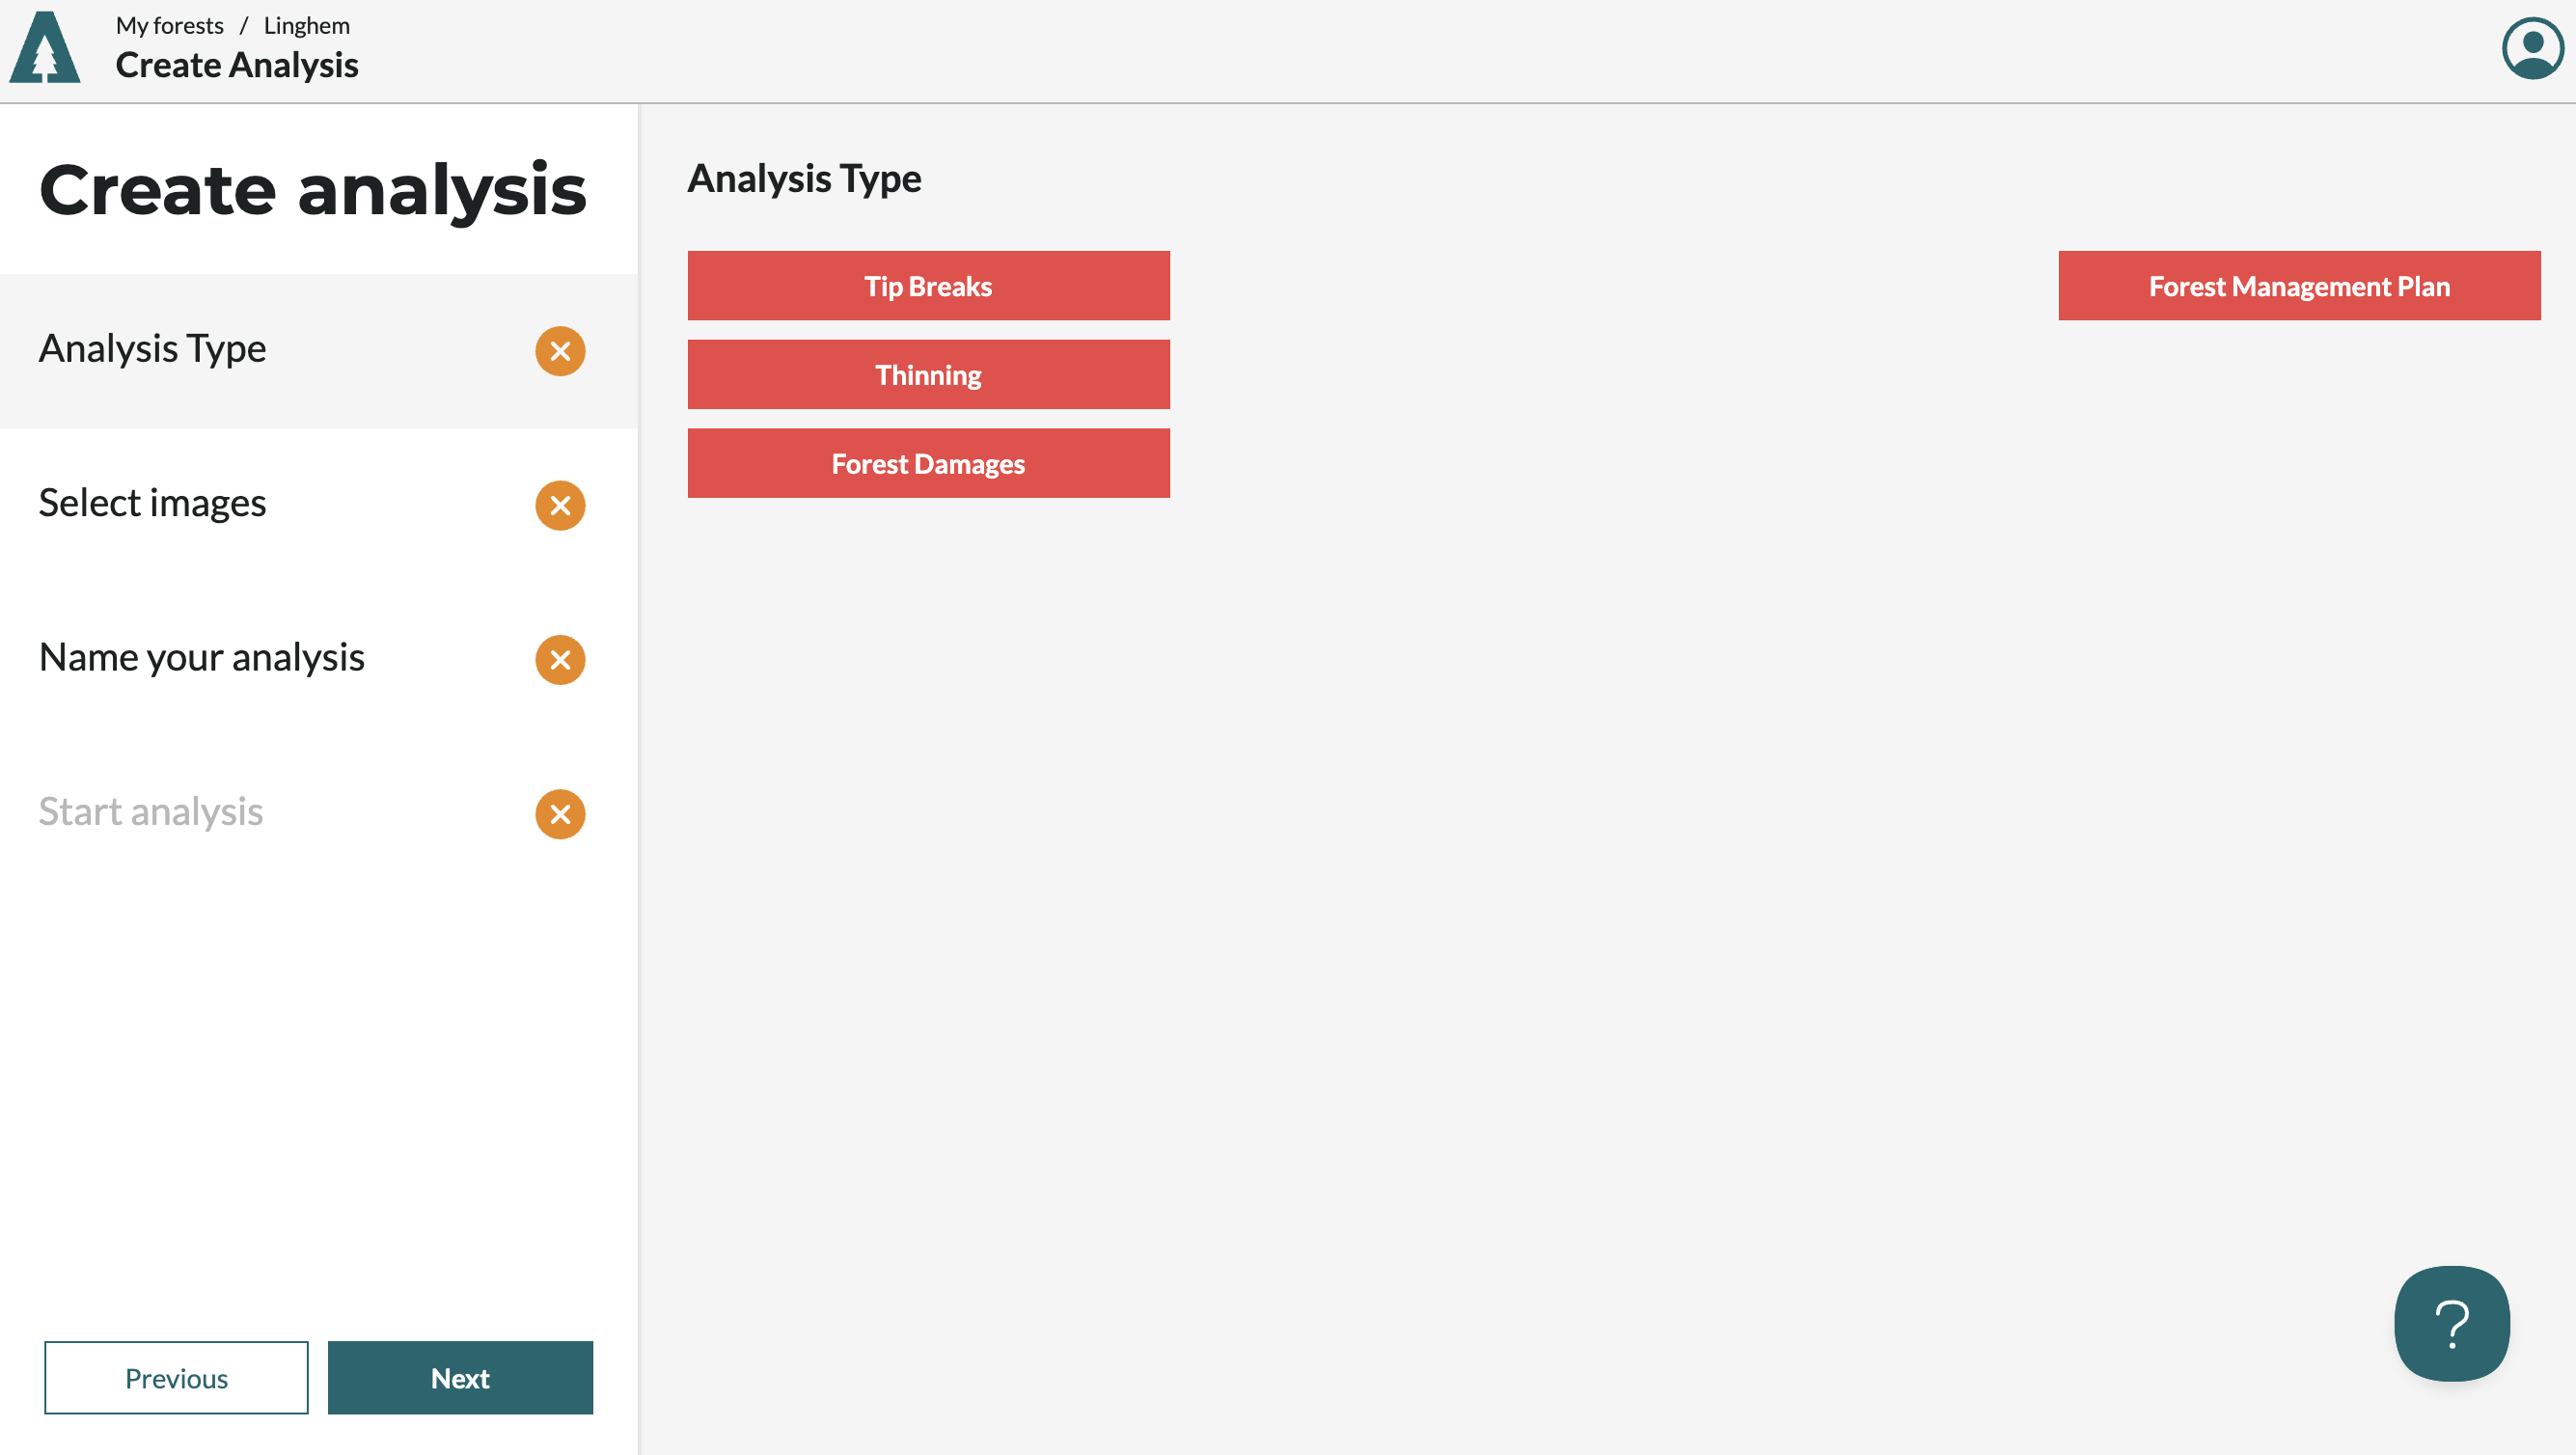
If you do not see any options for analysis types that is because you only has access to one type. If you want access to more types contact your Arboair salesperson.
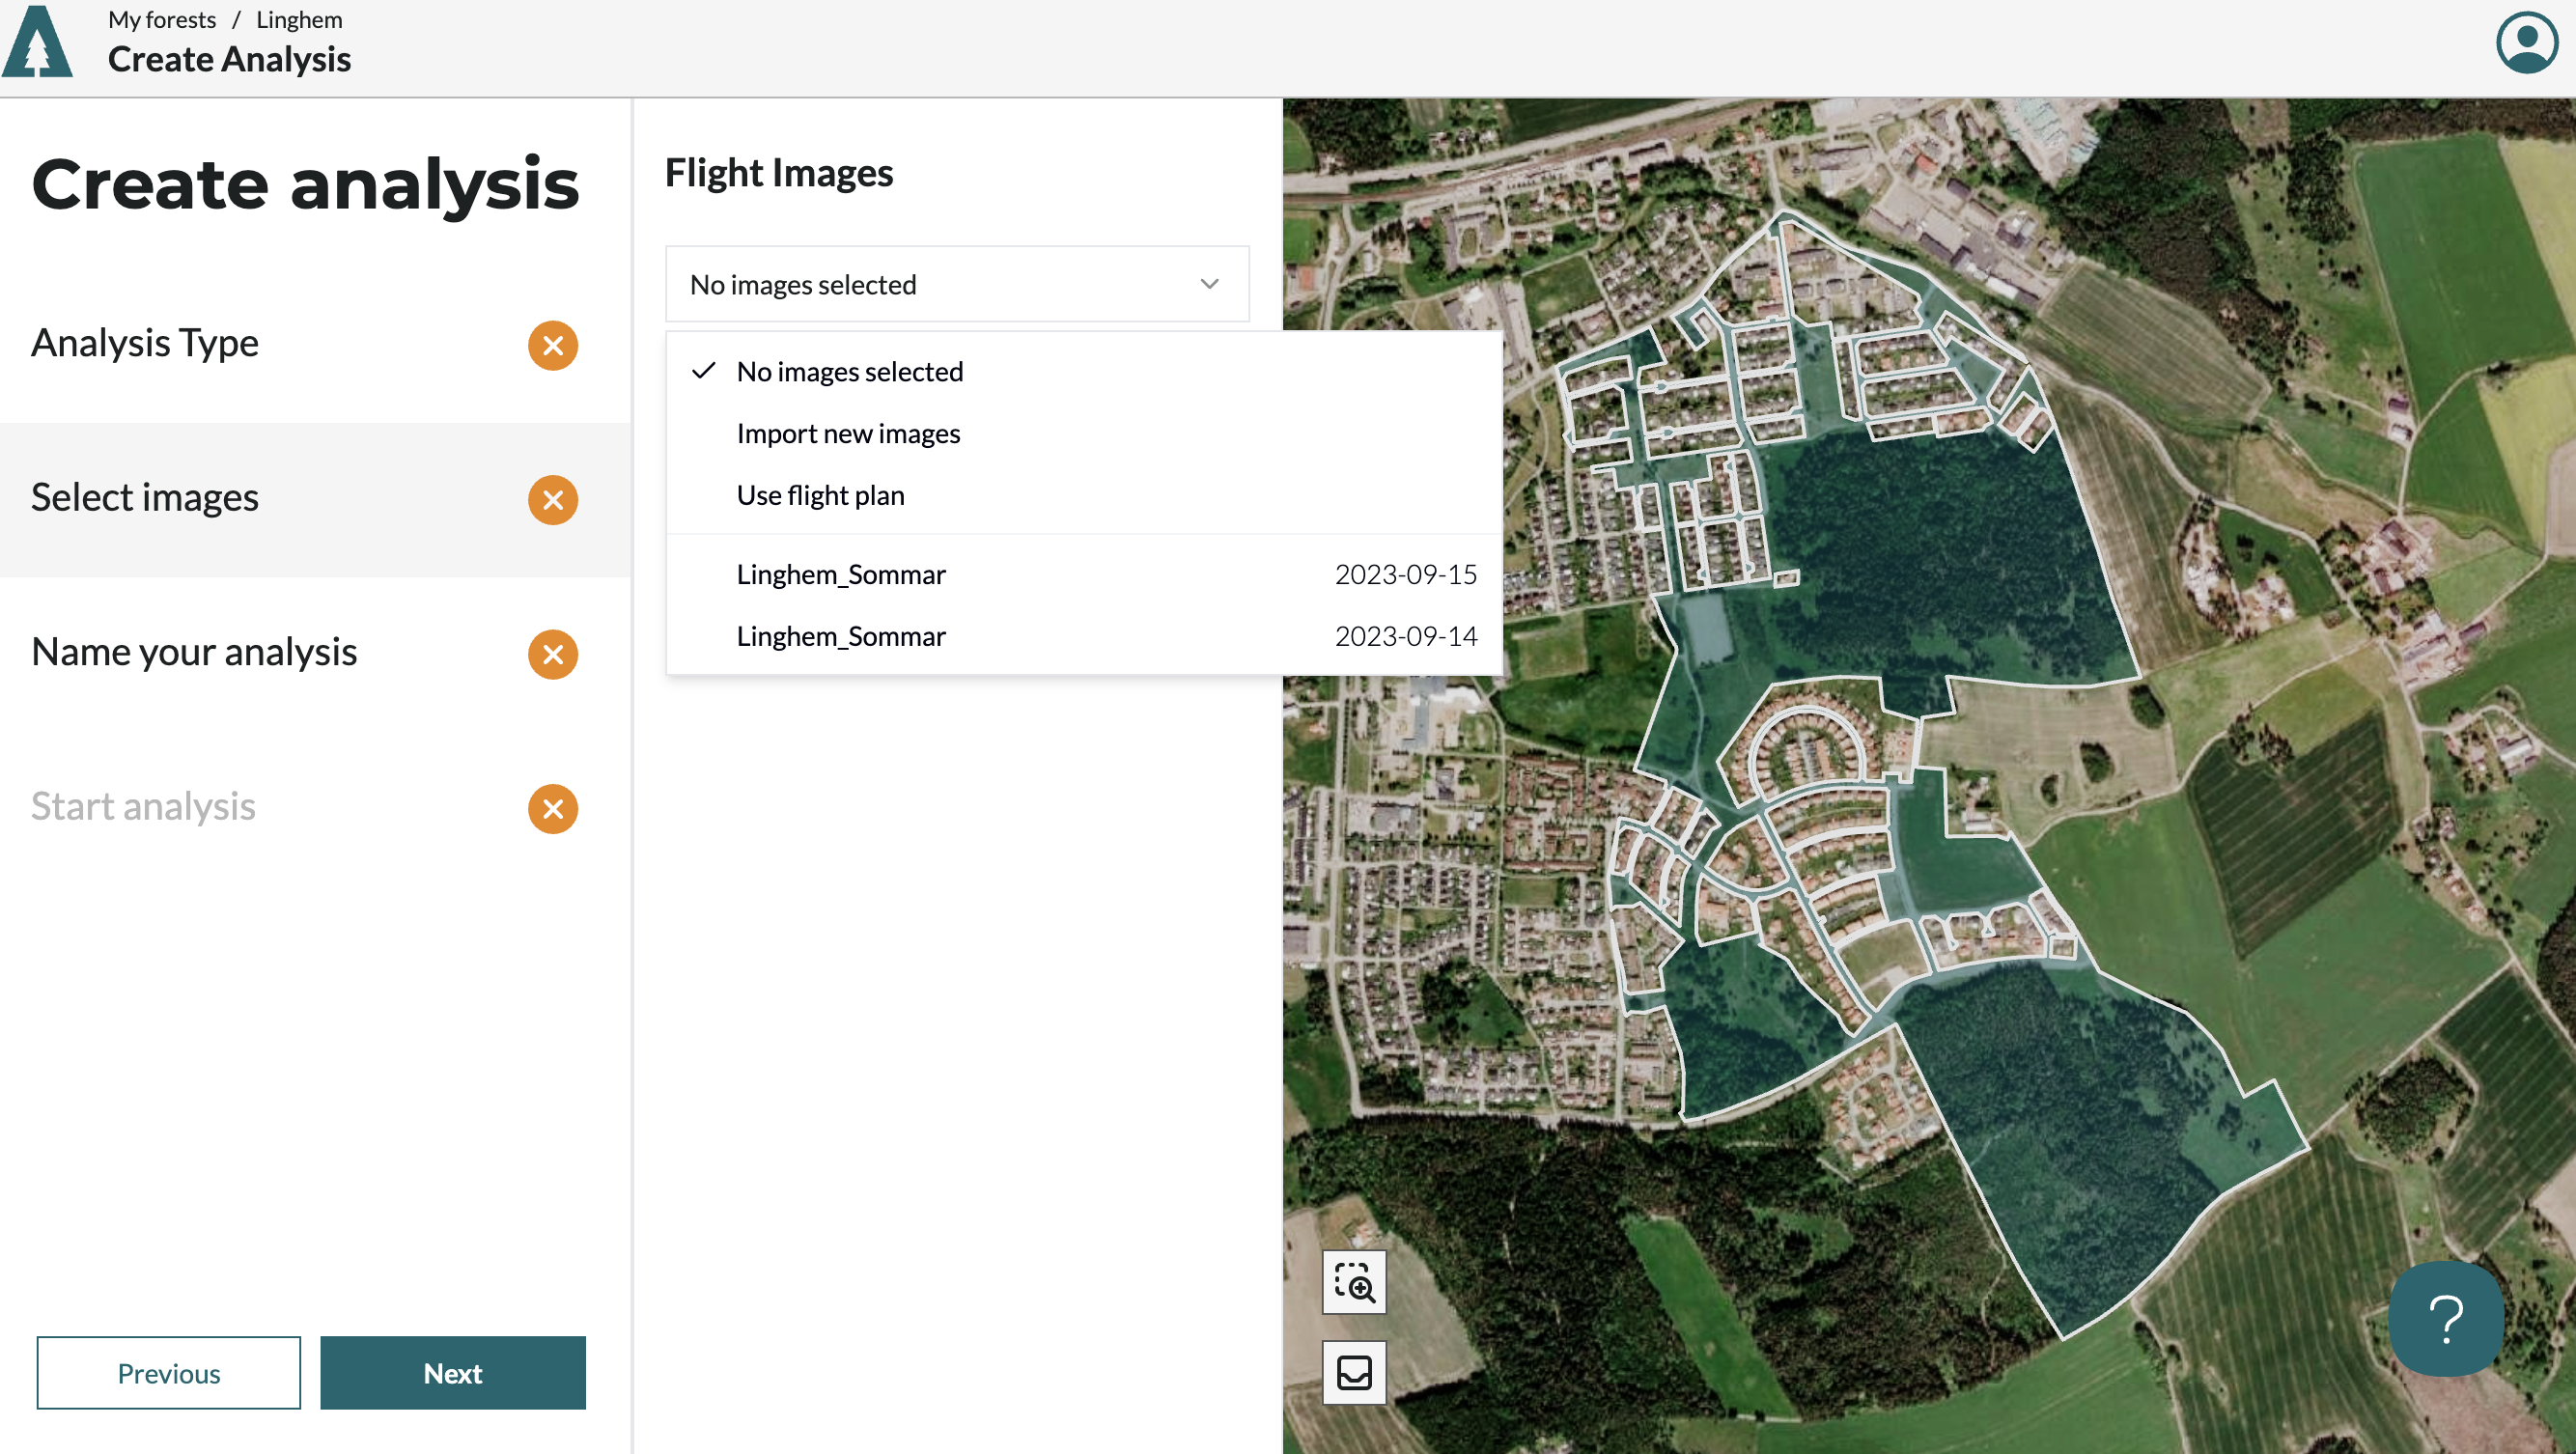
2. Choose images. When choosing images there are three options:
A. Upload existing images via drag-and-drop to the map or the file manager
B. Use an existing and saved image group (images you have uploaded before)
C. Create a flight mission plan to export a flight border .kml for your drone application.
All image groups you upload are saved so you can reuse them for other analysis types later
3. Create analsys. Name and press create analysis and your analysis will start.
Congrats! You have now uploaded your images and the analysis will start to progress.
Step 4. View your analysis
When your analysis is finished you will receive an email to take you to the analysis.
You can always access your older analysis from your forest view
Step 5. Export your data
After you have reviewed your data you can export it to be used in your on GIS, field applications or harvester machines. To to this press the export button in the map view or in the forest view to be able
Step 6. Done
You have now successfully
1. created a forest
2. uploaded images
3. ordered data collection
4. viewed your analyses
5. and understood what you are seeing.
Great work and good luck with your forest!